Step 4 - Adding Data
Once you have provided the necessary metadata, the final step is to upload the actual research data. The web interface offers two tabs for this purpose: Local file upload and S3 Access.
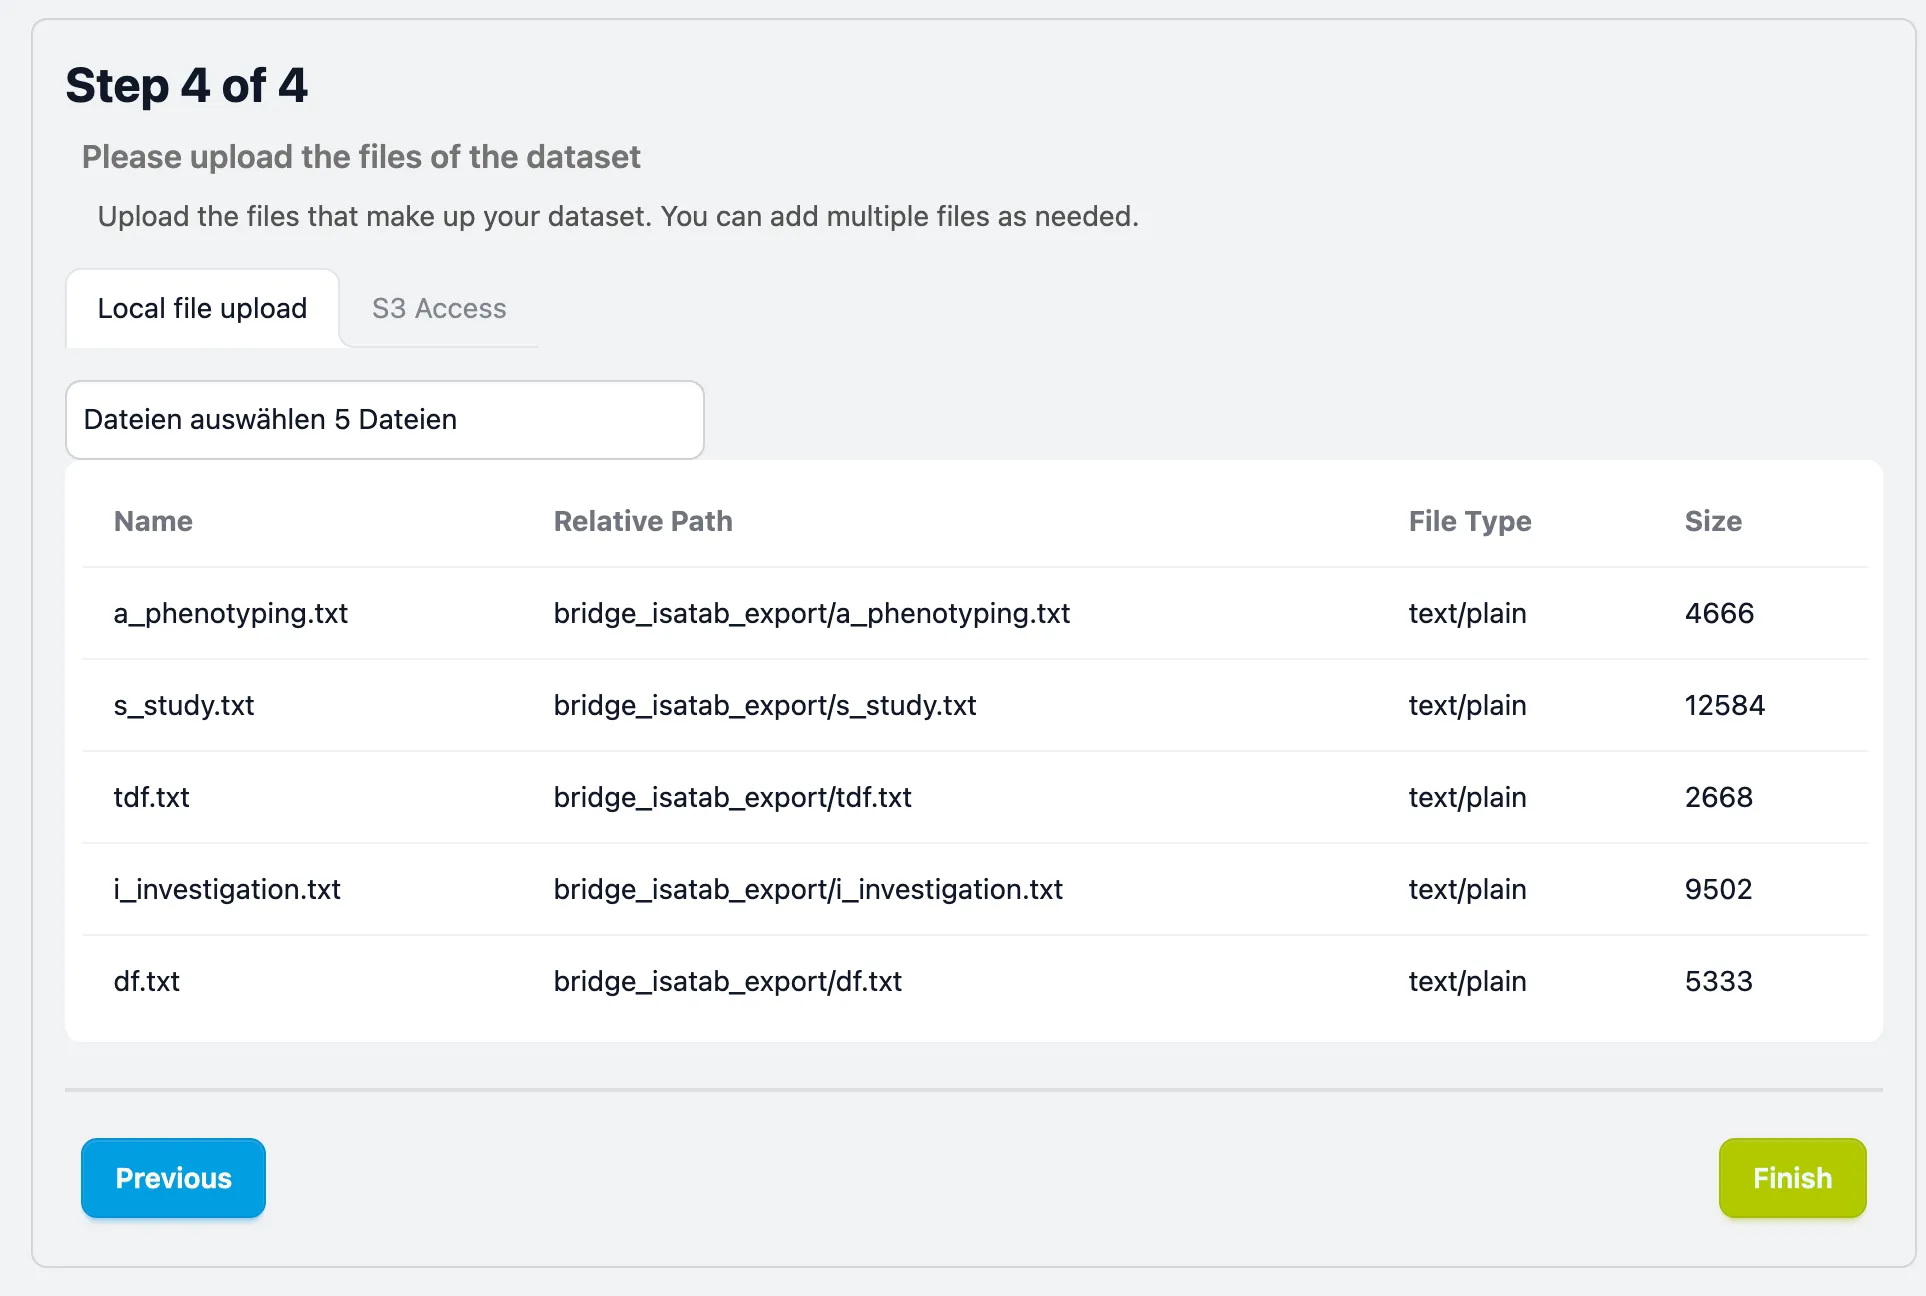
Local file upload
Section titled “Local file upload”This is the standard method for most users. You can upload your local files or directories.
- Select Files: Click the “Select files” button to open a file picker.
- Verify Uploads: After selection, your files will appear in a table showing:
- Name & Relative Path Verify your files & folder structure is preserved
- File Type & Size: To help you spot any incorrect files.
Avoid Pre-Zipping
Section titled “Avoid Pre-Zipping”If your data is too large to be transfered via browser (>500 MB)/>1000 files) just put it on a S3-compatible object store (e.g. AWS S3, MinIO, or institutional cloud storage) and provide the subseqently explained access parameters in the S3 Access tab. This allows you to transfer data directly into the repository.
- Service Endpoint: The URL of your S3 provider (e.g.
s3.amazonaws.com). - Access Key ID: Your public identifier.
- Secret Access Key: Your private key (used only for the transfer and not stored permanently).
- Bucket Name: The exact name of the source bucket.
- Region Name: The name of region where your bucket physically resides.
Finalizing Submission
Section titled “Finalizing Submission”Once your files are listed correctly in the table, please review the file list one last time to ensure nothing is missing and click the Finish button at the bottom right to start the dataset submission and intiating the internal review team.